C4DҪМіМ
| ЧКФҙ·ЦАа: |
Гв·СЧКФҙ |
| ҪМіМ·ЦАа: |
У°КУАё°ь » ЖдЛы |
| дЦИҫЖч: |
ЧФҙшұкЧј |
| ҪМіМУпСФ: |
УўОД |
| ЛШІДОДјю: |
УР |
| јмЛчВл: |
- |


ҫНПсТ»ёцө°ёвЈ¬дЦИҫКЗІ»НкИ«Ў°іцВҜЎұЈ¬ЦұөҪДгТСҫӯМнјУБЛКХОІөДЕДЙг¶ҜМ¬НјПсҙУУЕРгЧЯПтЧҝФҪЎЈұҫҝОіМПтДъҪйЙЬИзәОІЙИЎЦұҪУҙУCINEMA 4D»тИОәОЖдЛы3DИнјюдЦИҫЈ¬әНЕцЧІЛьУлNUKEТ»ёцөөҙОЎЈЧчХЯҝЛАЧёсЎӨ»ЭМШҝЛХ№КҫБЛИзәОҪбәПUVWНЁ№эУлSTУіЙдөҪФЩЙъҙҰАн¶ФПуЈ¬ҪЁБўRGBХЪХЦЈ¬ҙҙҪЁ№вФОәНРЎ·ўГчУл·ЖДщ¶ыЧЕЙ«ЖчЈ¬ІўјУіЎЈ¬ФЛ¶ҜДЈәэөИР§№ыөДЙо¶ИЎЈ
ЦчМв°ьАЁЈә
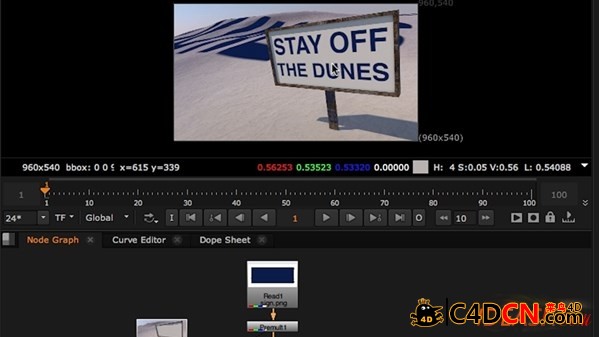
іцҝЪФҫФҫУыКФөДUV
К№УГSTMAPҪЪөгФЩЙъҙҰАнөД¶ФПу
әПіЙЕДЙг
ҙҙҪЁRGBХЪХЦ
УГ·ЖДщ¶ыЧЕЙ«Жч№ӨЧч
ҙҙҪЁПЦіЎәНФЛ¶ҜДЈәэР§№ыөДЙо¶И
Хвёцc4dҪМіМКфУЪУ°КУАё°ьЎўЖдЛы·ЦАаЈ¬ҪМіМУпСФОӘУўОДЈ¬УР№ӨіМ»тФҙОДјюЛШІДЈ¬К№УГЧФҙшұкЧјдЦИҫЖчВјЦЖЎЈөұЗ°ЧКФҙОӘГв·СЧКФҙЛШІДЈ¬УЙұҫХҫЙијЖКҰadminУЪ2015-9-9 10:00·ЦПнЈ¬С§П°ёь¶аcinema4dИнјю№ШУЪҙЛАаҪМіМДЪИЭЈ¬ҝЙТФНЁ№эұҫНшХҫҪМіМБРұнЙП·ҪөД·ЦАаРЕПў№ӨҫЯҪшРРЙёСЎЦ§іЦУўОДҪМіМІйСҜЎЈ
Like a cake, a render isn't fully "baked" until you've added the finishing touches that take motion graphics from good to great. This course shows you how to take a render directly from CINEMA 4D, or any other 3D package, and bump it up a notch with NUKE. Author Craig Whitaker shows how to combine UVW passes with ST maps to retexture objects, build RGB mattes, create glows and gizmos with Fresnel shaders, and add depth of field, motion blur, and other effects.
Topics include:
Prepping UVs for export
Using the STMap node to retexture objects
Compositing the shot
Creating RGB mattes
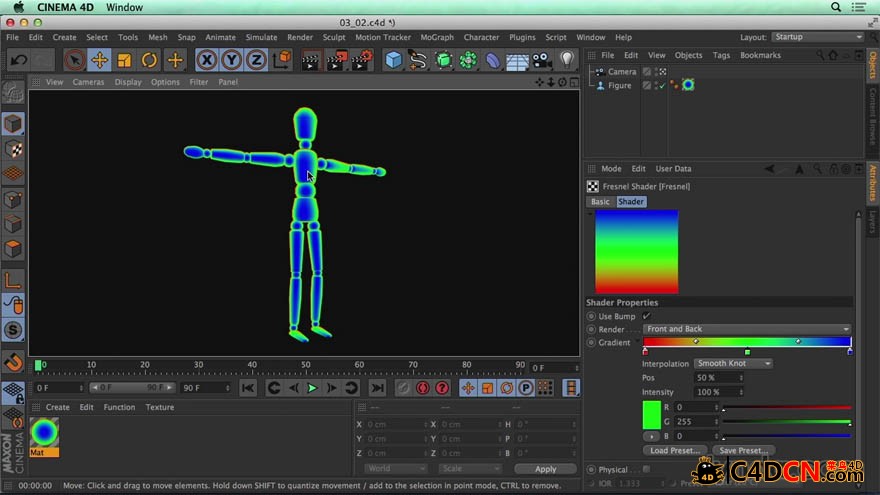
Working with Fresnel shaders
Creating depth of field and motion blur effects
|
|
 /9
/9 