C4DҪМіМ
| ЧКФҙ·ЦАа: |
Гв·СЧКФҙ |
| ҪМіМ·ЦАа: |
РВКЦИлГЕ » Unknown version |
| дЦИҫЖч: |
ЧФҙшұкЧј |
| ҪМіМУпСФ: |
УўОД |
| ЛШІДОДјю: |
ОЮ |
| јмЛчВл: |
CN200526T-79 |


In this video, Liam goes over some alternative, faster methods to in response to a MographPlus video that came out a few days prior, comparing Cinema4D to Houdini. That awesome video can be
ФЪҙЛКУЖөЦРЈ¬LiamМЦВЫБЛТ»Р©МжҙъөДЈ¬ёьҝмөД·Ҫ·ЁЈ¬ТФПмУҰјёМмЗ°·ўІјөДMographPlusКУЖөЈ¬Ҫ«Cinema4DУлHoudiniҪшРРБЛұИҪПЎЈ ДЗёцәЬ°фөДКУЖөҝЙТФКЗ
02:15 - Mask from Object
03:05 - Copy to Points, Piece Variant
06:15 - Using a Single Group Node and Randomizing Variation
10:00 - Mask for Object Float Attribute Trick
11:45 - Vex instead of VOPs. Simple Attribute manipulation.
15:00 - Create a spare channel (not a ramp as I called it)
17:30 - Color Variation through attribute noise.
18:00 - Rendering with Redshift
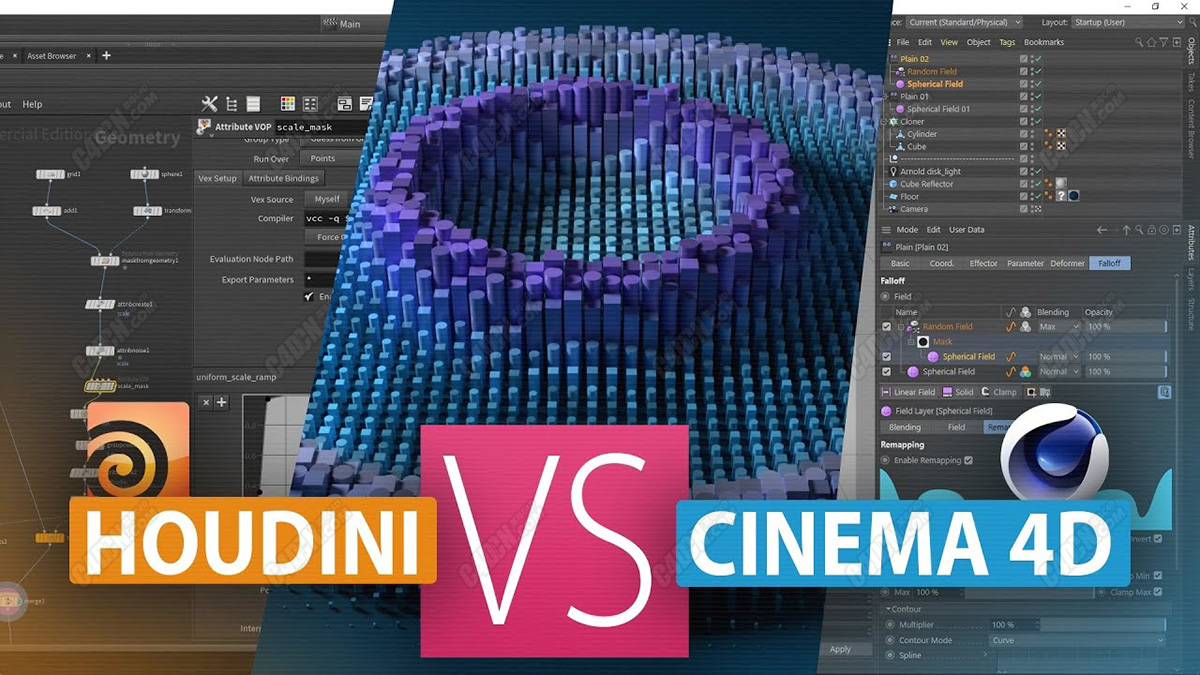
In this tutorial we learn how to create the same Mograph setup in both Cinema 4d and Houdini, if you are a Cinema 4d user looking ahead to learn Houdini, this tutorial can show you the very different approach Houdini and Cinema 4d take to content creation.
First we create the setup in cinema 4d and render it using Arnold Renderer, then we move to Houdini and create a very similar setup there as well, the last thing we do is to export the Houdini scene back to Cinema 4d using alembic, adjust the shaders using the point data we got from Houdini and render it using Arnold again.
Get some coffee or tea and letЎҜs get started.
ФЪұҫҪМіМЦРЈ¬ОТГЗҪ«С§П°ИзәОФЪCinema 4dәНHoudiniЦРҙҙҪЁПаН¬өДMographЙиЦГЈ¬Из№ыДъКЗТ»ёцПЈНыС§П°HoudiniөДCinema 4dУГ»§Ј¬ДЗГҙұҫҪМіМҪ«ПтДъХ№КҫHoudiniәНCinema 4dҪшРРДЪИЭҙҙҪЁөДНкИ«І»Н¬өД·Ҫ·ЁЎЈ
КЧПИЈ¬ОТГЗФЪCinema 4dЦРҙҙҪЁЙиЦГЈ¬ІўК№УГArnold Renderer¶ФЖдҪшРРдЦИҫЈ¬И»әуОТГЗТЖЦБHoudiniЈ¬ІўФЪДЗАпТІҙҙҪЁТ»ёц·ЗіЈПаЛЖөДЙиЦГЈ¬ЧоәуТӘЧцөДКЗК№УГalembicҪ«HoudiniіЎҫ°өјіц»ШCinema 4dЈ¬өчХы ЧЕЙ«ЖчК№УГҙУHoudini»сөГөДөгКэҫЭЈ¬И»әуФЩҙОК№УГArnoldҪшРРдЦИҫЎЈ
әИұӯҝ§·И»тІиЈ¬ҝӘКј°ЙЎЈ
|
|
 [ёҙЦЖБҙҪУ]
 /9
/9 